
The Evolution of "Making a Photograph" Software
Ansel Adams said, “You don't take a photograph, you make it“, way back in Oct 24, 1938. I have interpreted that to mean, after you capture an image in your camera in the field, you download the file at home, and then there is a need to develop it to its full potential.
I have shot a RAW file in my camera for many years now, ever since I became serious about creating fine art photography. A RAW file is lossless, meaning it captures uncompressed data from your camera sensor. Sometimes referred to as a digital negative, you can think of a RAW file as the raw “ingredients” of a photo that will need to be processed in order to bring out the picture's full potential.
The main difference between a JPEG (the most commonly used file) and a RAW file is its size. RAW files are significantly bigger than JPEG (and any other) image file formats. That's because they contain all the raw image information captured by your digital camera's sensors, completely uncompressed. It can then be saved in a JPEG format, the image file format used on any social media sites, and the images people carries around on their mobile devices.
The development of RAW files is accomplished using software, most commonly Adobe Lightroom and Adobe Photoshop. These softwares are updated periodically, with new capabilities that allow the user to develop a digital files easier, quicker, and in new or improved ways. These new development methods and improvements can be, and have been most recently, simply amazing. I wanted to write this blog about the current evolution and how I have used it on one of my most favorite performing arts photographs.
Below is the RAW file of an image I captured, February 13, 2021, at a concert that was held in the parking lot of the Harris Center for the Arts, Folsom, California. The event was held in the parking lot because the theater had been closed for almost a year due to COVID. This is Tom Rigney, leadsinger, violinist/fiddler, and composer for his band, Flambeau.
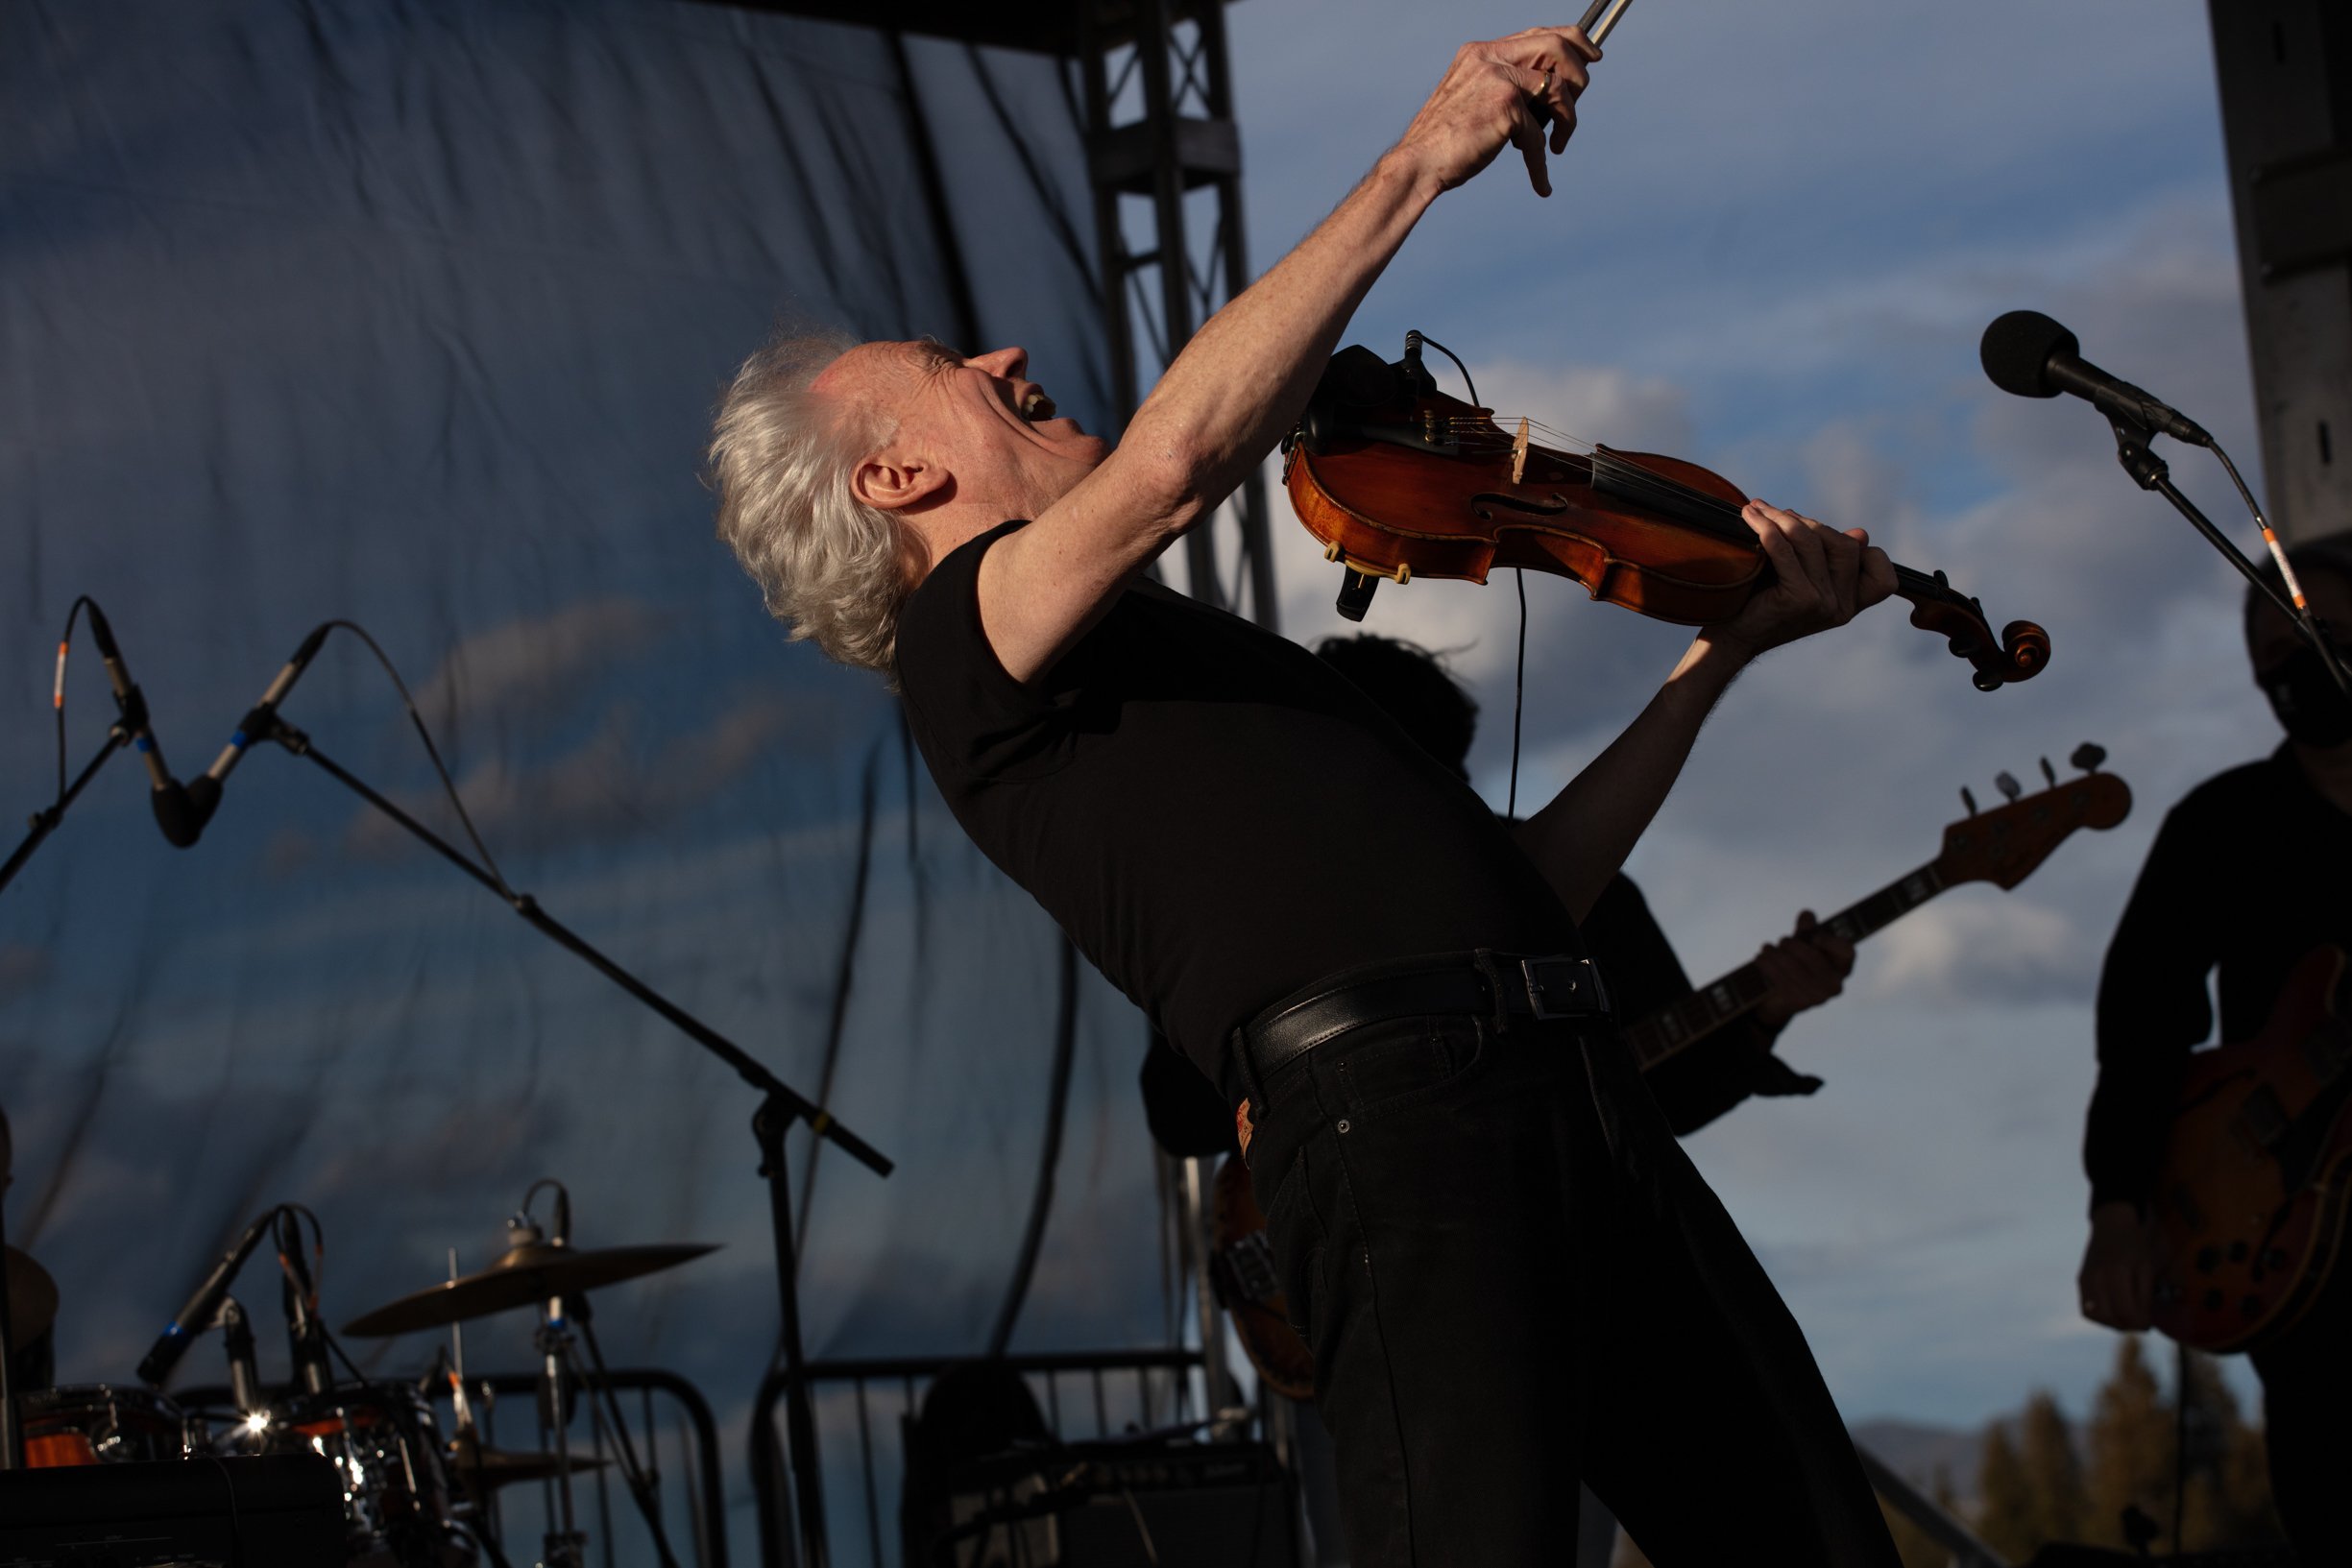
The first thing you do in post development is determine what corrections the image needs, and or what can you do to it to improve what you captured. There are a number of problems with this image, it is underexposed (too dark), it is cluttered, which takes a viewer’s eye away from the main subject. So here is my first pass at developing the image.
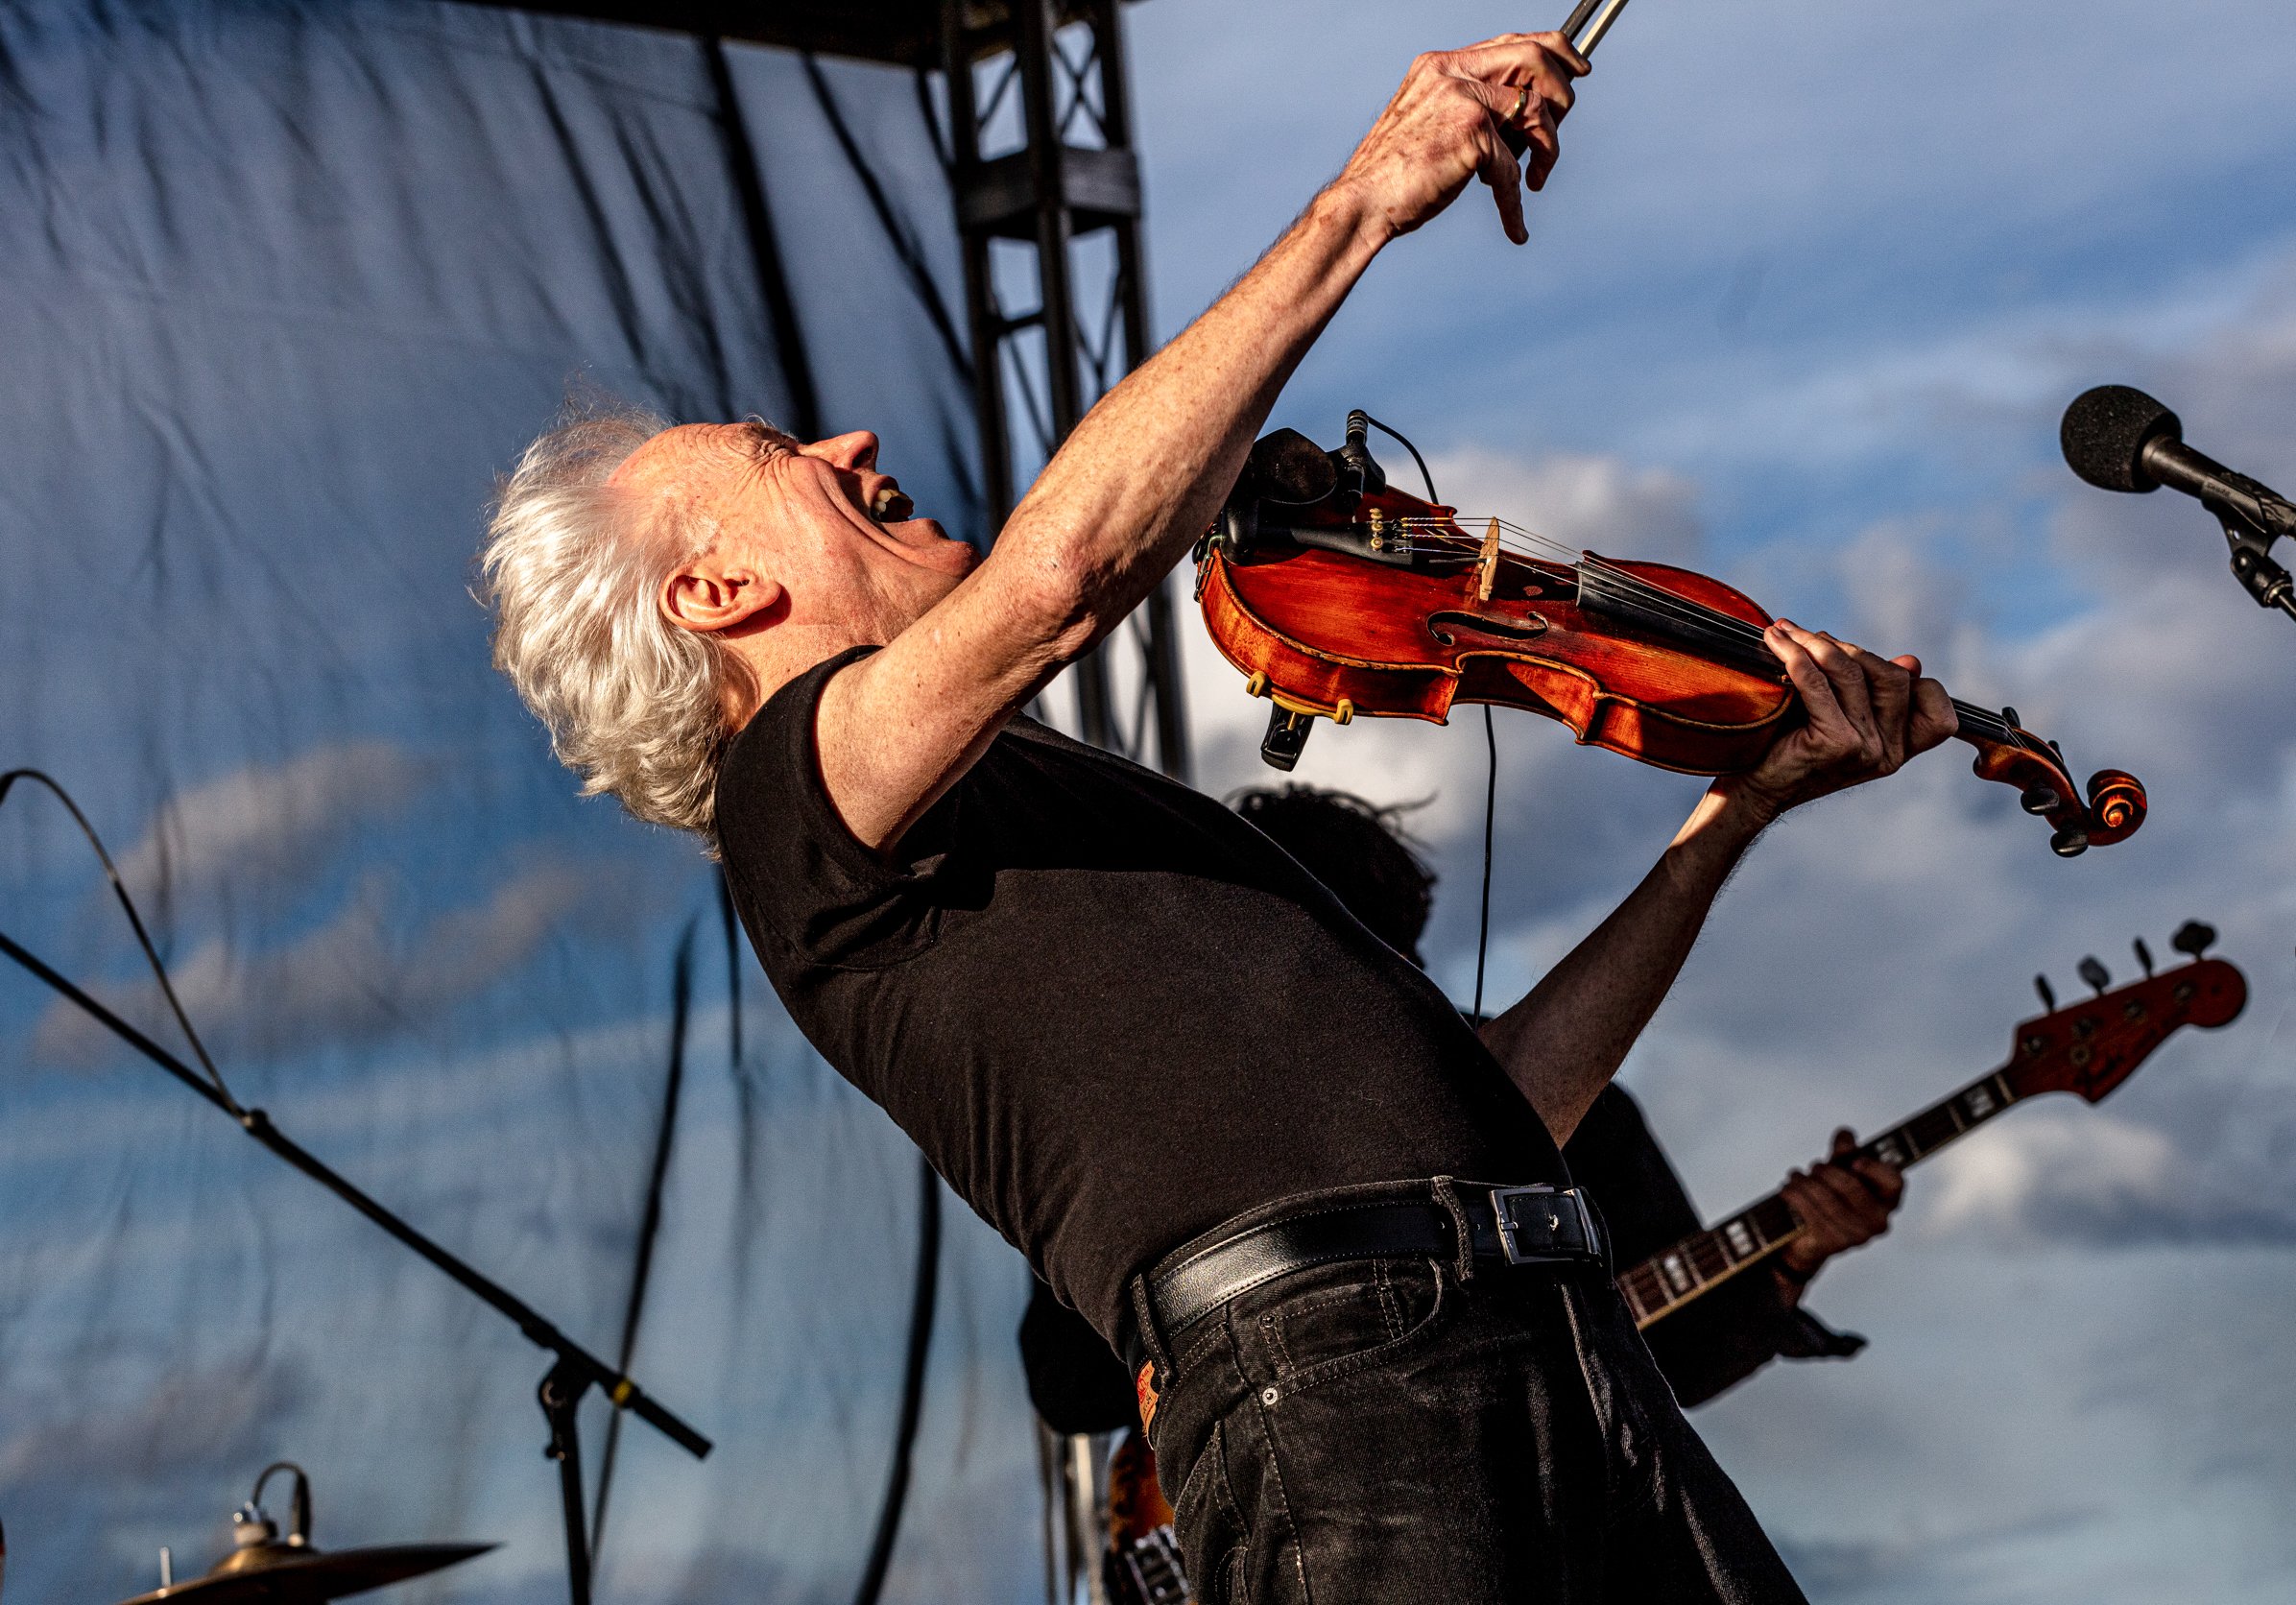
What I made above, is exposed better, not as cluttered, and in the eye of the beholder, a general and noticeable improvement of the original RAW file.
Over time, when I came back to this image, I saw further small improvements that I would like to make, shown above. This time I removed other distractions; the mike stand in the background and the drummer’s symbol.

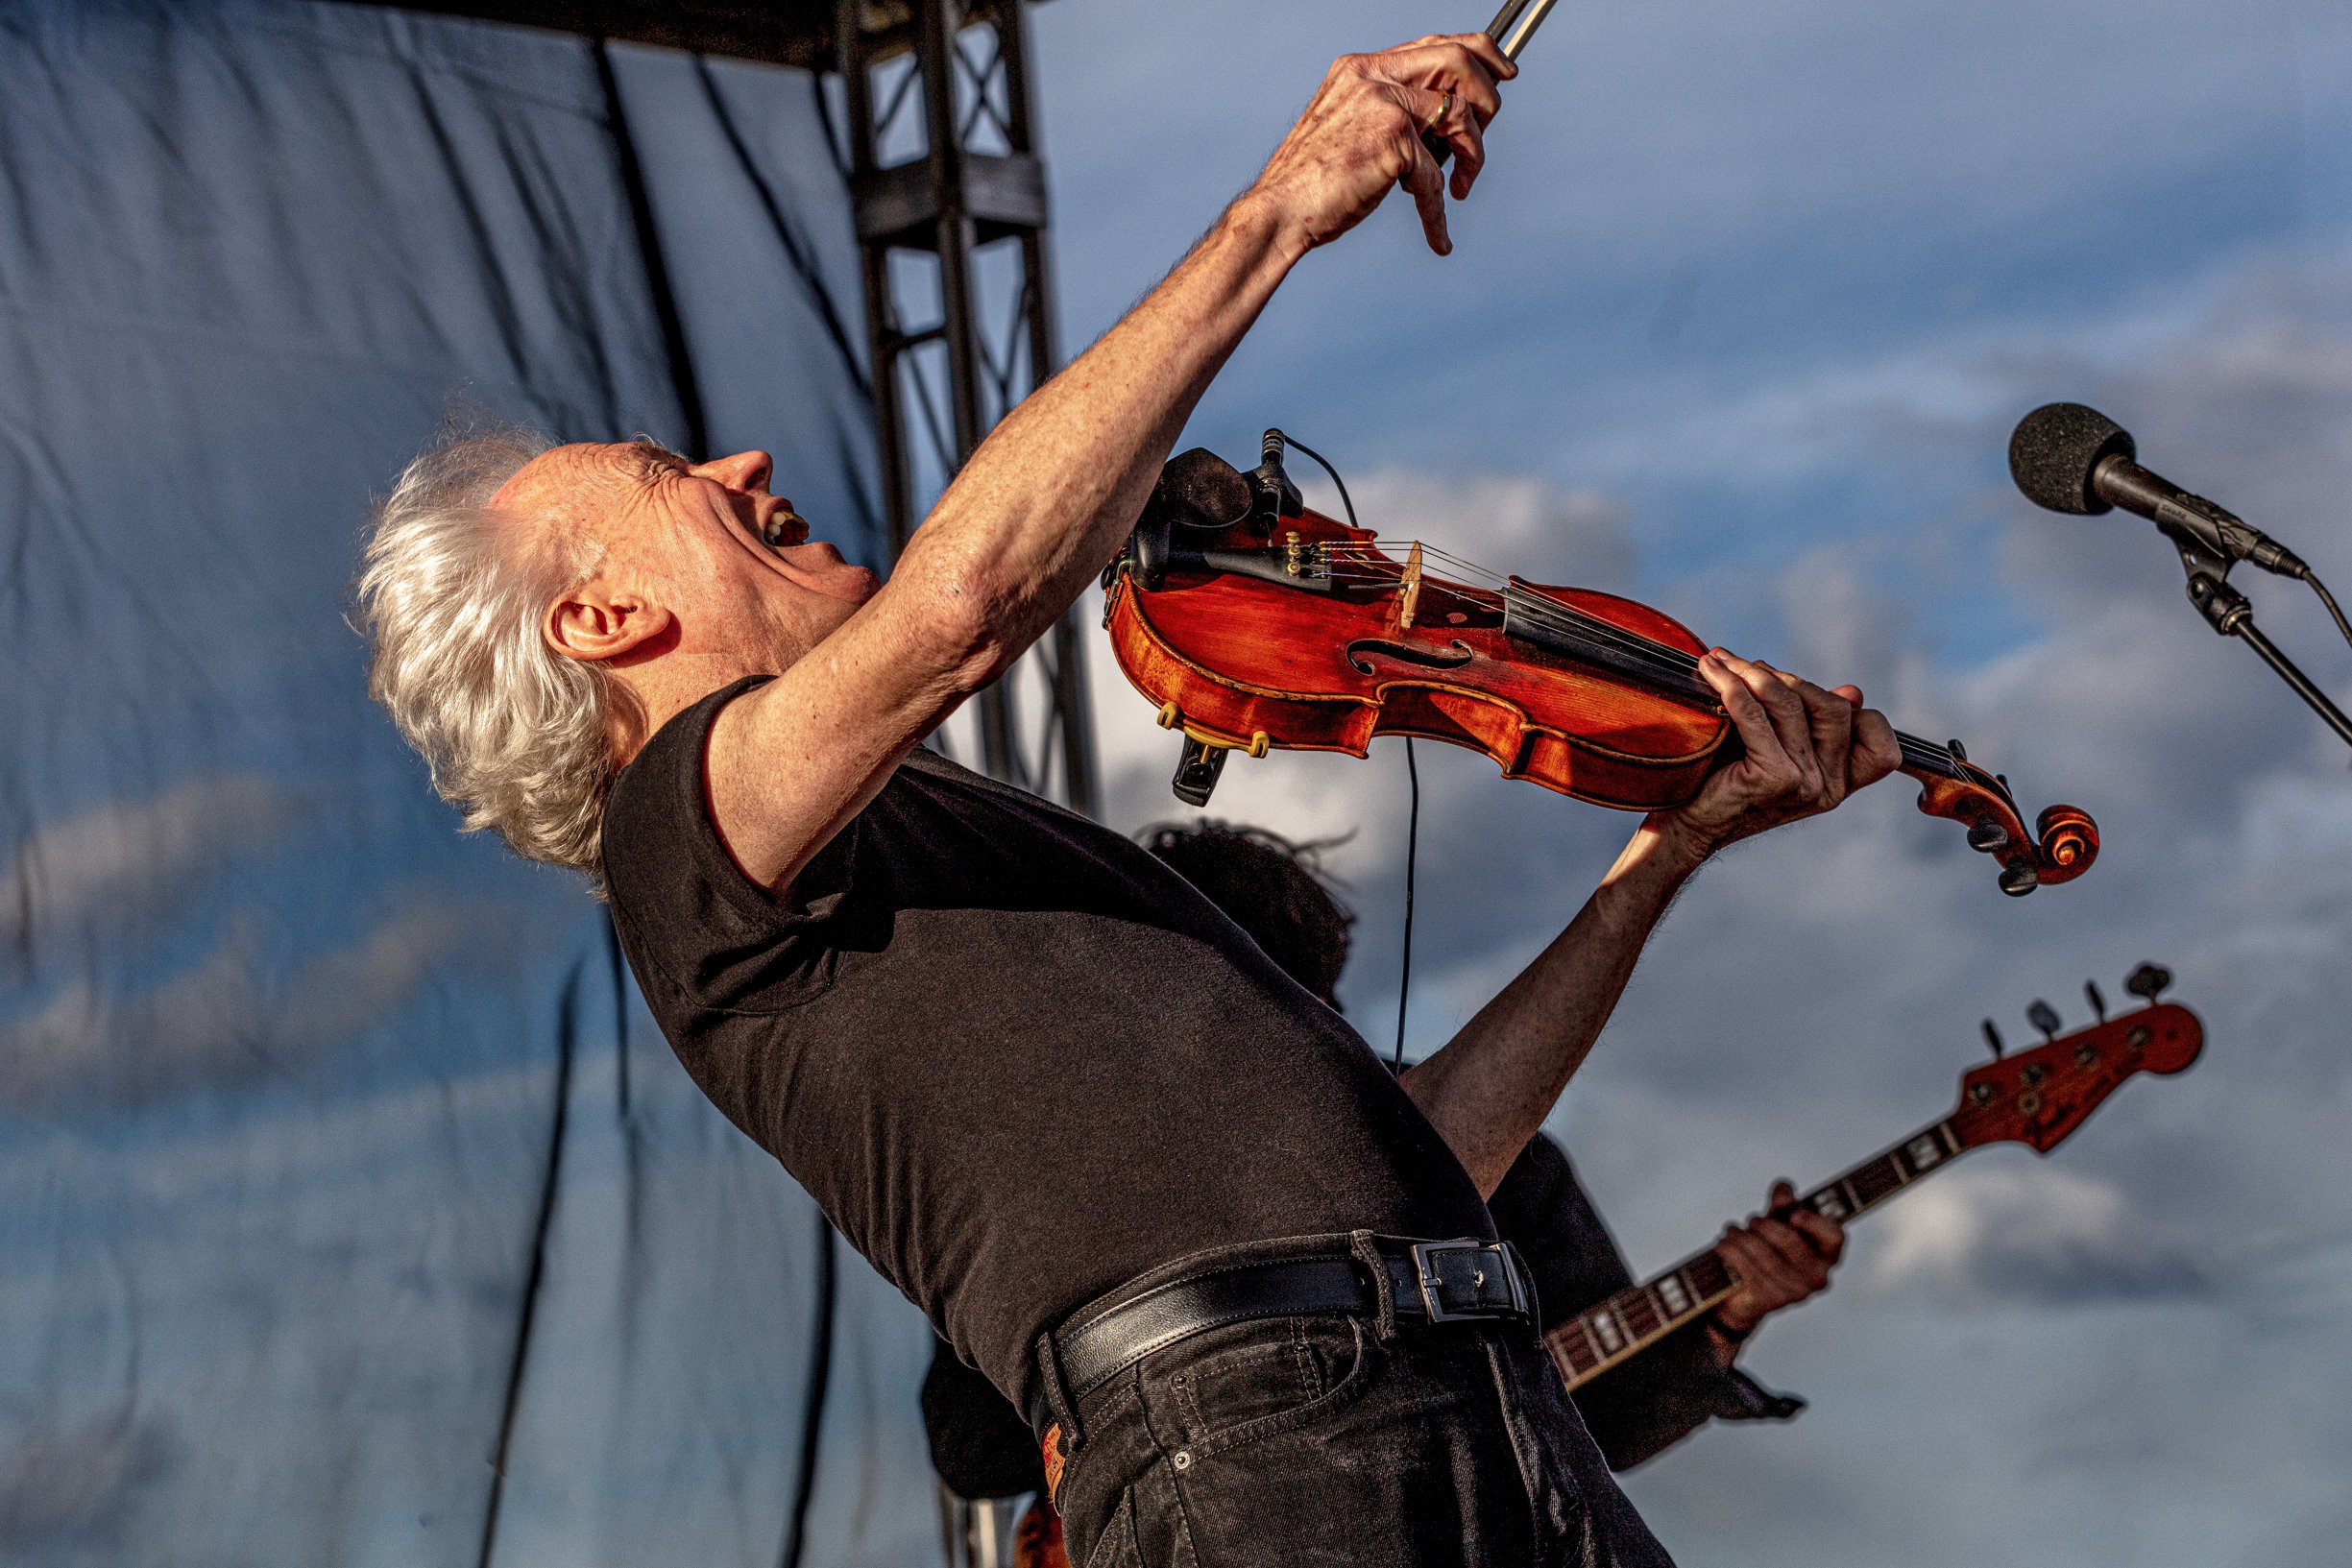
Then, a few days ago I decided to remove the parts of a partially hidden bass player on the right hand side, as well as the left hand side of the featured musician in the image. I also straightened the scaffolding in the background. All little things, but it improves the image quite dramatically this time, again, in the eye of the beholder. So why now, after more than two years after shooting this image?
A couple of answers to a good question - number 1 reason; my skills to make these changes in Adobe Photoshop have improved over those years. And the number 2 reason, Photoshop recently released an amazing new feature they call ‘Generative Fill’. Only available in a downloadable Beta version of the software, and it is simply stunning what this new function is capable of.

I have always wanted to have an image that included the complete violin bow held in his hand. Impossible to do, with my level of expertise as a Photoshop user, that is until now!
I went ahead and downloaded the Beta version of Adobe Photoshop, learned some basic skills, and was able to generate the image above. This is created by the use of the AI (Artificial Intelligence) based Generative Fill feature, only available in the Beta version.
It is not perfect, which is why it is in Beta format as of now. The generated results sometimes are quite random, typically can not be duplicated or repeated consistently, but sometimes stunning nonetheless!

And lastly, using Generative Fill again, this time using the instructive words “add red boots, a stage floor, and extend scaffolding”, I made the image above.
Again, is it perfect in all aspects of the image? No, but it is simply stunning to me as a photographer, and my mind is excited about what the future holds for digital photography. I am fully aware of all the related ‘ethical’ issues going forward, but that is a topic for some other blog, at some other time.
Please remember and note, this is the tip of the iceberg, using software I just downloaded two days ago. There are many more amazing features in this software, and I’ve only shown a few. In the end, I simply wanted to share with you this groundbreaking technology that we have just been given in June, 2023, and how I have used it to create an image that once only existed in my imagination!